Setting up a classroom that is well organized and aligns with your classroom management plan is essential for student success. But how do you begin to set up a classroom? In this guide, you will learn 5 steps on how to set up a classroom that is functional & organized to help prevent challenging behaviors and set the stage for a successful year.
It takes some time, but it will save your sanity and time later!
How to Set up A Classroom Layout
Designing a well-organized and functional classroom can have a significant impact on student learning and engagement. By strategically arranging the physical space, you can create a classroom that supports teaching and helps students thrive.
So, get ready to transform your classroom with these 5 steps!
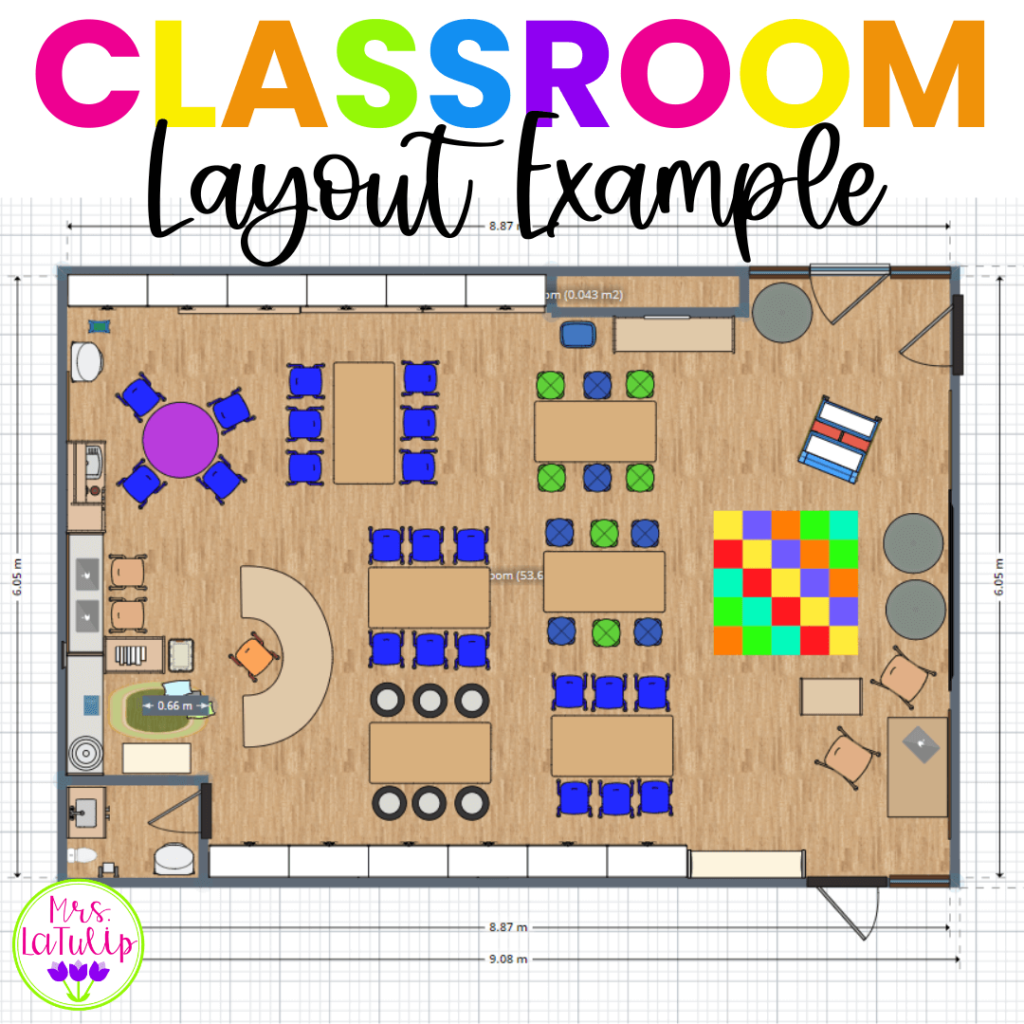
Step 1: How To Set Up A Classroom Layout
First, create a floor plan which includes furniture and areas of the classroom (designated group meeting area, a center workspaces, and a quiet reading area).
If possible take pictures of the classroom and furniture to help you create a floor plan.
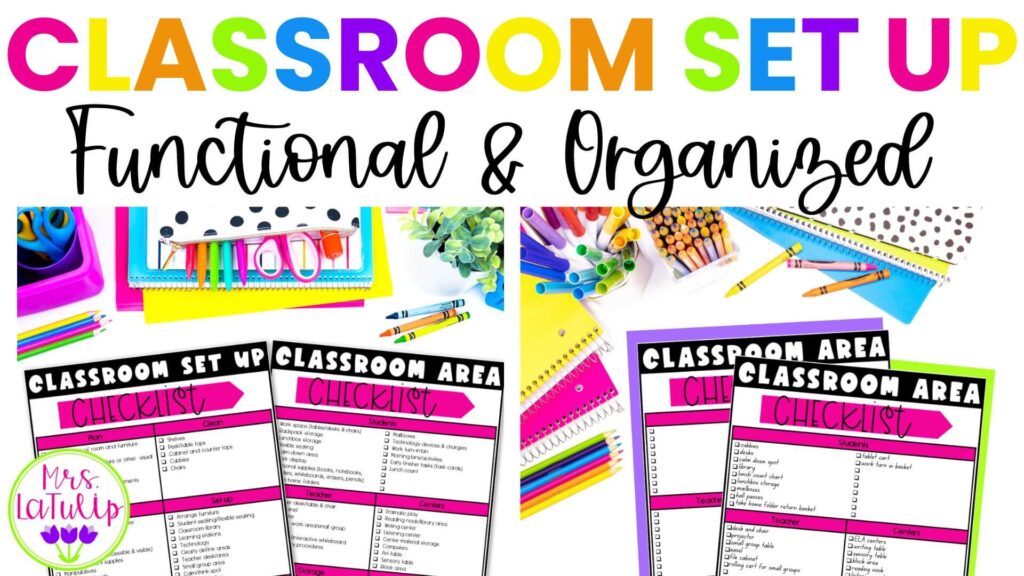
Use these FREE setting up the classroom checklists that includes a list of classroom areas to consider.
You can optimize the classroom layout by creating a floor plan that includes furniture and classroom areas.
Use pen and paper or try out the Kaplan Floor Planner tool.
Things to consider…
- Flow of Student Movement: Create clear pathways that allow students to move around the room, avoiding crowded areas. This can be especially important for activities that involve group work, or transitions between centers.
- Visibility & accessibility: Teacher can view the entire classroom from all areas and get to all locations quickly. Students can view the teacher and other instructional tools such as a whiteboard. Students have access to all areas and materials without creating distractions or requiring assistance from an adult.
- Functionality: Consider keeping noisier areas away from the quieter ones. Be sure that outlets are located near technology.
- Ask yourself the following questions:
- Is this space necessary or is it just for aesthetics?
- Is there enough space for students to use the space and maintain personal space?
- Clearly Define Classroom Areas: Use strategic placement of furniture, shelves, and other visual cues to help students understand the purpose of each area and encourage them to use the space according to the classroom procedures. Avoid too much open space-this opens up the ideas of running and potential chaos.
- Student Work Areas: Experiment with different seating arrangements, such as small groups that allow for on task behavior and for the teacher to reach every student quickly without disruption.
- Tip: Provide a variety of possible seating options for students to allow those that need to be away from distractions.
The layout of your classroom can have a significant impact on student engagement, learning and influence classroom management.
Step 2: Clean and Organizing Your Classroom
Grab your favorite cleaning supplies and put on a favorite playlist! It’s time to begin cleaning up the classroom!
Tip: Be friends with the custodian! They may have helpful supplies, including an extra trash can. Chances are you are going to have trash and knowing their favorite snack can make it disappear a little faster.
Start by all purging cabinets and drawers (don’t forget filing cabinets). Remember to wipe down all the surfaces.
If you haven’t used it in a few years, chances are you are not going to use it anytime soon.
I use this time to organize my books. My go-to is to sort by theme (farm, back to school, holidays, science, social studies, etc.)

Organizing Your Classroom Supplies
Start the year organized and stay organized!
Sort supplies into containers or bins. I prefer to use containers with lids so that I can stack to store extra supplies and make the most of the space.
*As an Amazon Associate, I earn from qualifying purchases.

Be sure that student supplies are labeled and organized making it easy to locate and access. This will speed up transitions, including the cleaning process since students know exactly where each item belongs.
Tip: Place supplies next to the area they will be used to eliminate unnecessary movements and disruptions. (ex: pencils and notebooks near writing center)If you have books, materials for learning stations or curriculum supplies, my go-to storage items are book bins and photo keepers.
Don’t forget to tackle your teacher desk/area.
Step 3: Classroom Set
Pull out the classroom layout plan and put it into action. Don’t be afraid to make changes and open to other classroom layout ideas.
Tip: Walk through classroom procedures to check the flow of traffic and view.
Step 4:Deck the Halls
Finally, what every teacher dreams about, decorating the room. But before you take off for the races, remember this, less is always more!
Have you ever walked into a discount store and the shelves were overflowing and walked right back out?
Now imagine your five and still are working on self control. So many temptations!
Minimize clutter (too many things can be a distraction), add resources to support learning and classroom management (expectations, routine visuals and daily visual schedule).
Tip: Consider hanging charts after teaching about the resource so students understand the purpose.
It’s okay to have blank space. Having a space for student work and student personalization is essential. If “blank space” bothers you, hang a sign that says “student work coming soon.”
When it comes to bulletin boards-they should be functional. A Pinterest perfect board isn’t going to serve your students as much as a space for learning resources.
Tip: Use paper and border that works all year so you don’t feel pressured to change it often/never looks like you forgot to change it.
Step 5:Personalize the Space
Adding personalization for yourself and students makes the space much more welcoming. When students see their name on something, it creates a sense of ownership.
Use the free classroom set up checklist for some ideas.

Tip: Laminate name tags and other items that get touched often. Then write names on items using a permanent marker. If you need to, now you can use an eraser or write over the marker with dry erase markers to remove the writing.
I always wait until the last minute since the class list may change.
Setting up a well organized and functional classroom is a must for student success and effective classroom management. By taking the time to follow the classroom setup steps, you can support learning, prevent problem behaviors and maintain your sanity all year long.
Grab your FREE classroom set up checklist today!